Beginner’s Guide to Setting Up Your Camera

So, you’ve just got your hands on your first camera. Whether you’re planning to capture landscapes, portraits, or spontaneous everyday moments, knowing how to set it up is essential for achieving great results. While modern cameras offer automatic modes, learning how to configure key settings will give you more control and significantly improve your photos. Let’s break it down step by step.
Understanding Camera Modes
Your camera’s mode dial is a powerful tool that determines how much control you have over your images. While the fully automatic mode is tempting, it often limits your creative freedom. If you’re a beginner, start with Aperture Priority (A or Av) or Shutter Priority (S or Tv).
In Aperture Priority, you set the aperture (which controls how much of your scene is in focus), and the camera adjusts the shutter speed. This mode is ideal for portraits or landscapes where depth of field is important. On the other hand, Shutter Priority lets you choose the shutter speed to either freeze action or create motion blur, and the camera handles the aperture.
As you gain confidence, move to Manual Mode (M), where you have complete control over the aperture, shutter speed, and ISO. It may seem daunting at first, but manual mode allows you to fully understand how these settings interact.
Image Quality and File Format
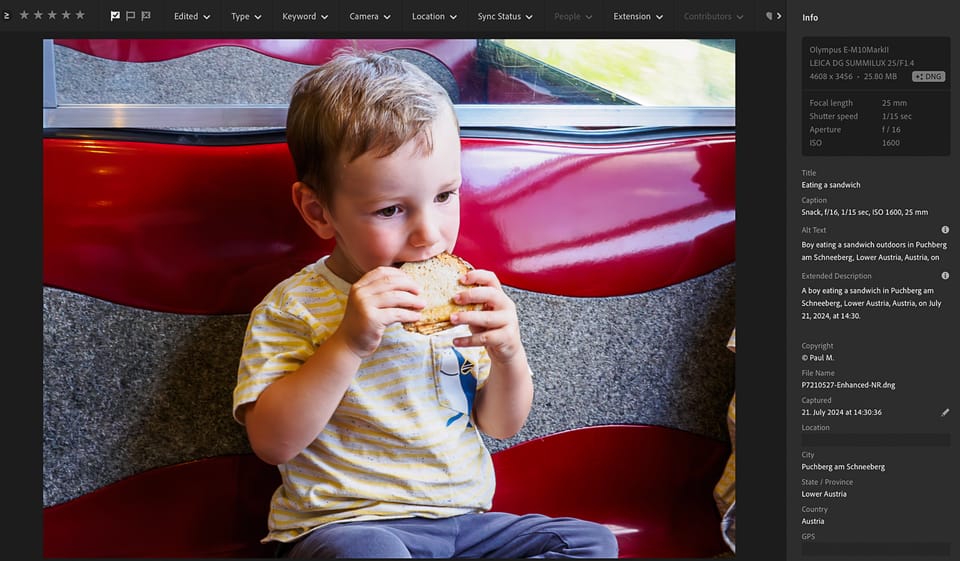
One of the first settings you should adjust is the image quality. Cameras typically offer two main file formats: JPEG and RAW.
JPEG files are smaller, ready to use, and require minimal post-processing. However, they compress image data, which limits your ability to make significant adjustments later.
RAW files, on the other hand, retain all the data captured by your camera’s sensor, giving you far more flexibility during editing. The downside is their larger file size and the need for specialized software like Adobe Lightroom or Capture One.
For most beginners, I recommend starting with RAW + JPEG. You’ll have a ready-to-share image along with a RAW file for future editing as you grow more comfortable with post-processing.
Mastering the Exposure Triangle
Photography revolves around three main settings: ISO, shutter speed, and aperture. Together, they form what’s known as the exposure triangle.
ISO controls your camera’s sensitivity to light. A low ISO (100-200) is ideal for bright daylight, while higher values (1600+) help in low-light situations but introduce noise.
Shutter Speed determines how long your camera’s sensor is exposed to light. A fast shutter speed like 1/1000s freezes motion, while a slower speed like 1/30s can create motion blur or capture more light in dark environments.
Aperture, measured in f-stops, controls the size of the lens opening. A wide aperture (f/2.8) creates a shallow depth of field, blurring the background and making your subject pop. A narrow aperture (f/16) keeps more of the scene in focus, which is ideal for landscapes.
Tip: Balancing these three settings is key to properly exposed images. Start by adjusting one while letting the camera handle the others, then gradually take full control.
Focusing for Sharp Images
Focus settings can dramatically affect the sharpness of your images. Modern cameras offer several autofocus modes, but two are most useful for beginners.
Single Autofocus (AF-S) locks focus when you half-press the shutter button. It’s perfect for stationary subjects like portraits or landscapes.
Continuous Autofocus (AF-C) continuously adjusts focus as your subject moves, making it ideal for action photography such as sports or wildlife.
Tip: If you find the autofocus struggling in certain conditions, such as low light or close-up shots, consider switching to manual focus for more precision. Most lenses have a manual focus ring that allows you to adjust focus by hand.
White Balance for Accurate Colors
White balance adjusts the color temperature of your photos to match the lighting conditions. While Auto White Balance (AWB) is reliable in most scenarios, it can sometimes produce inconsistent results, especially in mixed lighting.
Most cameras offer presets like Daylight, Cloudy, Tungsten, and Fluorescent. These presets adjust the white balance to suit different lighting environments.
Daylight - designed for shooting outdoors in natural sunlight. It provides neutral, accurate colors under bright, clear skies. Use for shooting landscapes, portraits, or any scene under direct sunlight.
Cloudy - warms up the image to counteract the cool, bluish tones of overcast skies. Use for shooting outdoors on cloudy or shaded days to add warmth and richness.
Tungsten - corrects the warm, orange glow from traditional incandescent or tungsten bulbs, making colors appear more neutral. Use for shooting indoors with standard household lighting.
Fluorescent - balances the greenish or bluish tint produced by fluorescent lights, resulting in more natural colors. Use for shooting in offices, schools, or any environment lit by fluorescent tubes.
If you want precise control, use the custom white balance feature. This requires taking a reference shot of a neutral gray object under the current lighting, which your camera will then use to adjust color accuracy.

Stabilization and Composition
Camera shake is one of the most common issues beginners face, especially in low-light situations. Many cameras and lenses come with built-in image stabilization (IS), which helps reduce blur caused by hand movements. Make sure this feature is enabled when shooting handheld. However, if you’re using a tripod, it’s best to disable stabilization to prevent micro-adjustments that can actually introduce blur.
Tip: To improve your composition, turn on the grid display in your camera’s viewfinder or LCD screen. This helps you follow the rule of thirds, a guideline that suggests placing your subject off-center for a more balanced and visually appealing image.
Essential Pre-Shooting Checks
Before you start shooting, run through a quick checklist.
- Battery: Ensure it’s fully charged, and carry a spare if you plan to shoot for an extended period.
- Memory Card: Use a fast, high-capacity card and format it in the camera to reduce the risk of errors.
- Lens: Clean the front element with a microfiber cloth to remove smudges or dust that can affect image quality.
Lastly, consider customizing your camera’s buttons and quick menu. Assign frequently used settings, such as ISO or focus mode, to dedicated buttons for faster access. This small step can make a big difference in how quickly you can adapt to changing conditions while shooting.
Final Thoughts
Setting up your camera correctly is the first step in your photography journey. While it might seem overwhelming initially, each adjustment you make brings you closer to mastering your equipment and capturing the images you’ve envisioned.
Take your time to experiment with different settings, review your results, and most importantly, enjoy the process. As you become more familiar with your camera, you’ll find yourself relying less on automatic modes and more on your own creative instincts.
Happy shooting!


