Mastering ISO: A Guide to Correctly Setting ISO for Stunning Photos
When it comes to photography, ISO is one of the essential elements of the exposure triangle, alongside aperture and shutter speed. ISO determines how your camera processes light and can significantly influence your photos. Setting it correctly can mean the difference between a stunning, noise-free image and one marred by grain and loss of detail. In this post, we'll explore what ISO is, its fascinating history, and how to adjust it effectively to capture your vision.
What is ISO?
ISO is a term borrowed from film photography and represents a standard for measuring light sensitivity. In digital cameras, however, ISO doesn't increase your sensor's actual sensitivity to light. Instead, it adjusts the camera's amplification of the electronic signal from the sensor. This amplification brightens the image but can also have side effects, such as introducing noise and affecting dynamic range.
A Brief History of ISO
ISO traces its origins to the days of film photography when film sensitivity was measured in ASA (American Standards Association) or DIN (Deutsches Institut für Normung). These systems were later unified by the International Organization for Standardization (ISO), creating the standardized scale we use today.
In film, a higher ISO (or ASA) indicated film that was chemically engineered to be more sensitive to light, ideal for low-light situations. However, this sensitivity came at a cost-graininess in the final image. Digital cameras simulate this concept but achieve it differently, by amplifying the electrical signal from the sensor rather than altering the sensor's physical properties.
The Truth About ISO: Beyond Sensitivity
It's a common misconception that higher ISO settings make your camera sensor "more sensitive" to light.
ISO Amplifies the Sensor's Output: When you increase ISO, the camera amplifies the data collected by the sensor, resulting in a brighter image. This is like turning up the volume on a quiet sound, you're not adding more sound, just amplifying what’s already there.
ISO Affects Dynamic Range: At lower ISO values, your camera retains a greater dynamic range, capturing more detail in highlights and shadows. Higher ISO settings often compress dynamic range, leading to overexposed highlights and less detail in shadows.
ISO Amplifies Noise: As ISO increases, so does the visibility of noise. Noise originates from various factors, including electronic interference and underexposure. Amplifying the signal at high ISO also amplifies this unwanted noise.
Understanding ISO Settings
Low ISO (100-200): Best for bright outdoor conditions or when using a tripod for long exposures. Low ISO ensures maximum image clarity and minimal noise.
Mid-range ISO (400-800): Ideal for indoor shots with moderate lighting, such as in a well-lit room or during cloudy days outdoors.
High ISO (1600+): Useful for low-light situations like night photography, concerts, or indoor events without flash. Be cautious of noise and dynamic range loss.
How to Set ISO Correctly
Follow these steps to determine the optimal ISO for your scene.
- Evaluate Lighting Conditions:
- Bright Daylight: Stick with ISO 100-200.
- Shade or Cloudy Weather: Increase to ISO 400-800.
- Low Light or Night: Experiment with ISO 1600 or higher but be mindful of noise and dynamic range compression.
- Match ISO with Shutter Speed and Aperture:
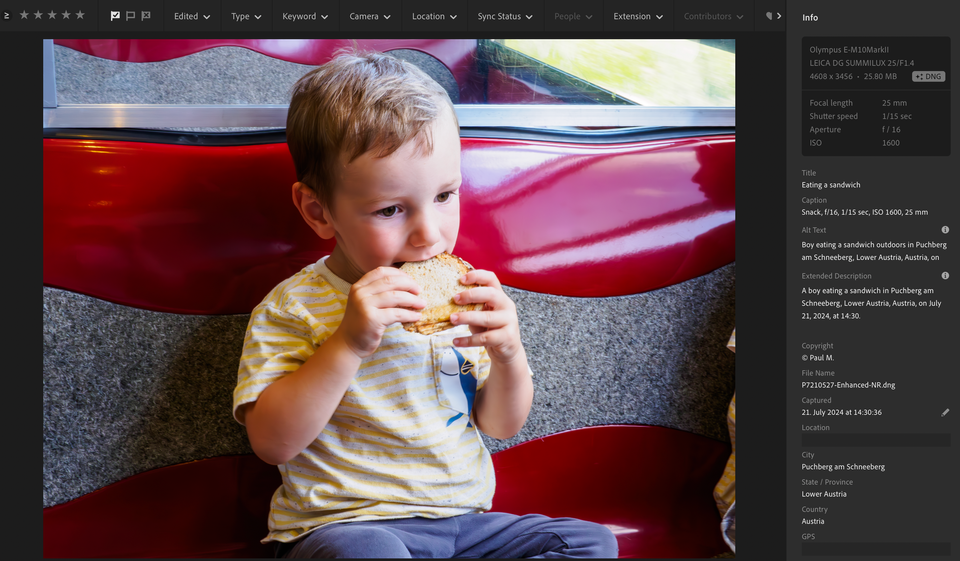
The exposure triangle works as a team. If you need faster shutter speeds for action shots, increasing ISO can help maintain proper exposure. Similarly, higher ISO compensates for reduced light for a narrow aperture (e.g., f/16 for landscape depth). - Use Auto ISO Smartly:
Most modern cameras have an Auto ISO function, which adjusts sensitivity based on light. Set a maximum ISO limit in your camera settings to prevent excessive noise while taking advantage of automation. - Check Your Camera's Noise Tolerance:
Not all cameras handle high ISO equally. Test your camera's performance at various ISO levels and determine the threshold where noise becomes unacceptable for your style.
The exposure triangle works as a team.
When Noise Becomes a Problem
Even with careful ISO management, noise might creep into your images, especially in high-ISO scenarios. Here are ways to mitigate it.
Shoot RAW: RAW files retain more image detail and allow better noise reduction during post-processing.
Use Noise Reduction Software: Tools like Adobe Lightroom, Topaz DeNoise AI, or DxO PhotoLab effectively reduce noise without sacrificing detail.
Ensure Proper Exposure: Underexposed images amplified in editing show more noise. Get your exposure right in-camera.
Practical Examples of ISO Settings
- Bright Sunny Beach: ISO 100, f/11, 1/500s.
- Indoor Portrait with Window Light: ISO 400, f/2.8, 1/60s.
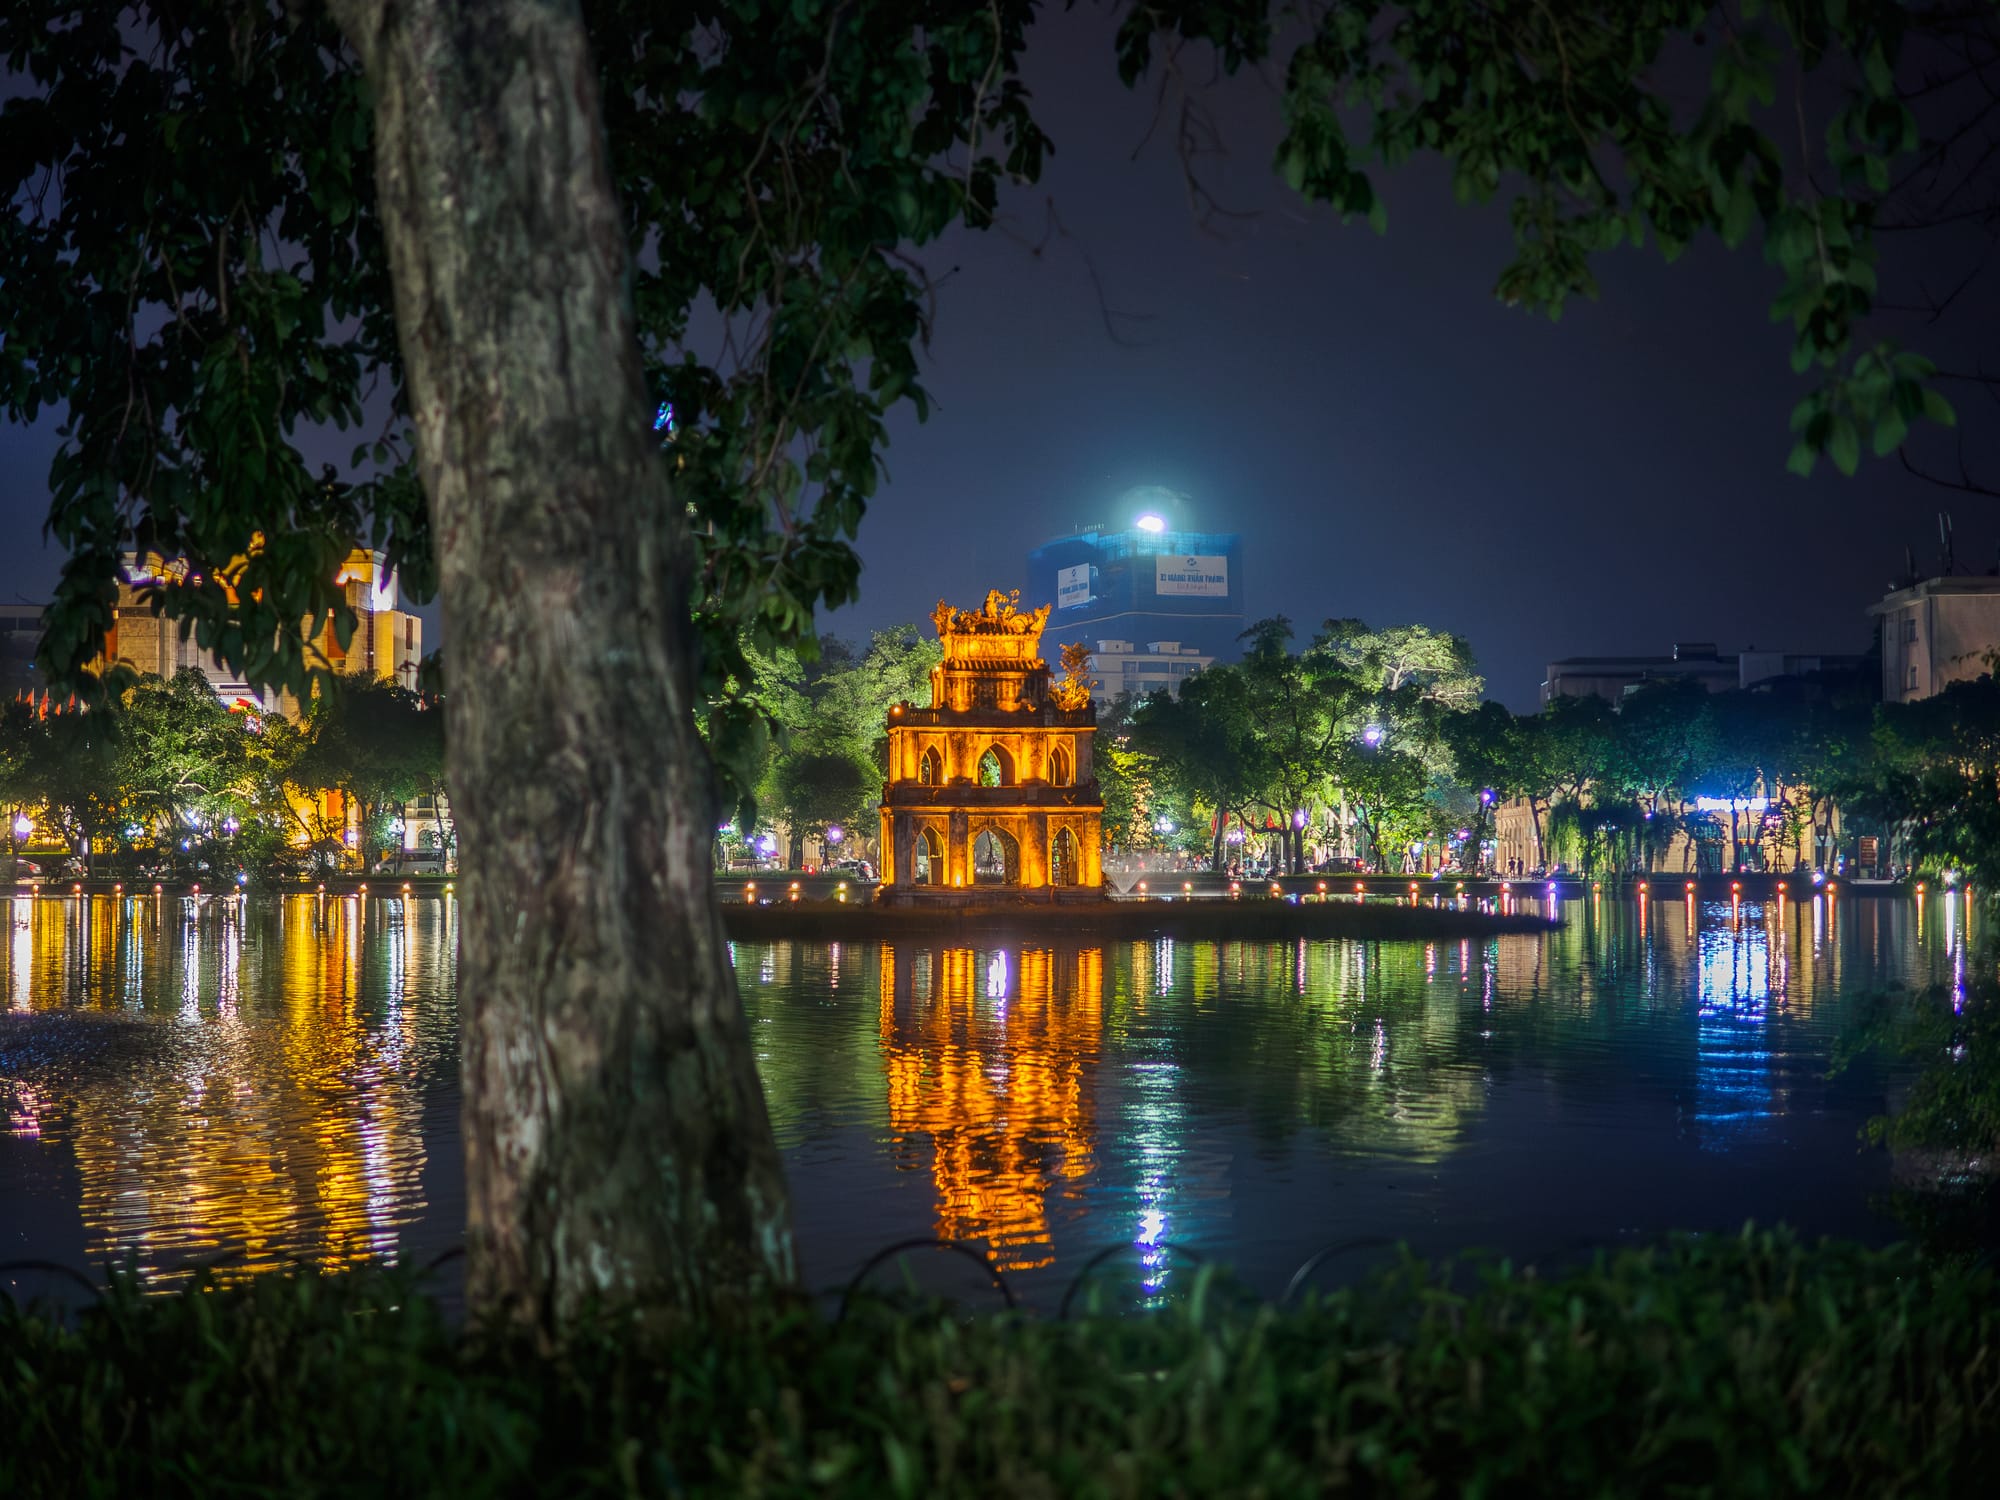
- Night Cityscape: ISO 800, f/5.6, 30s (with a tripod).
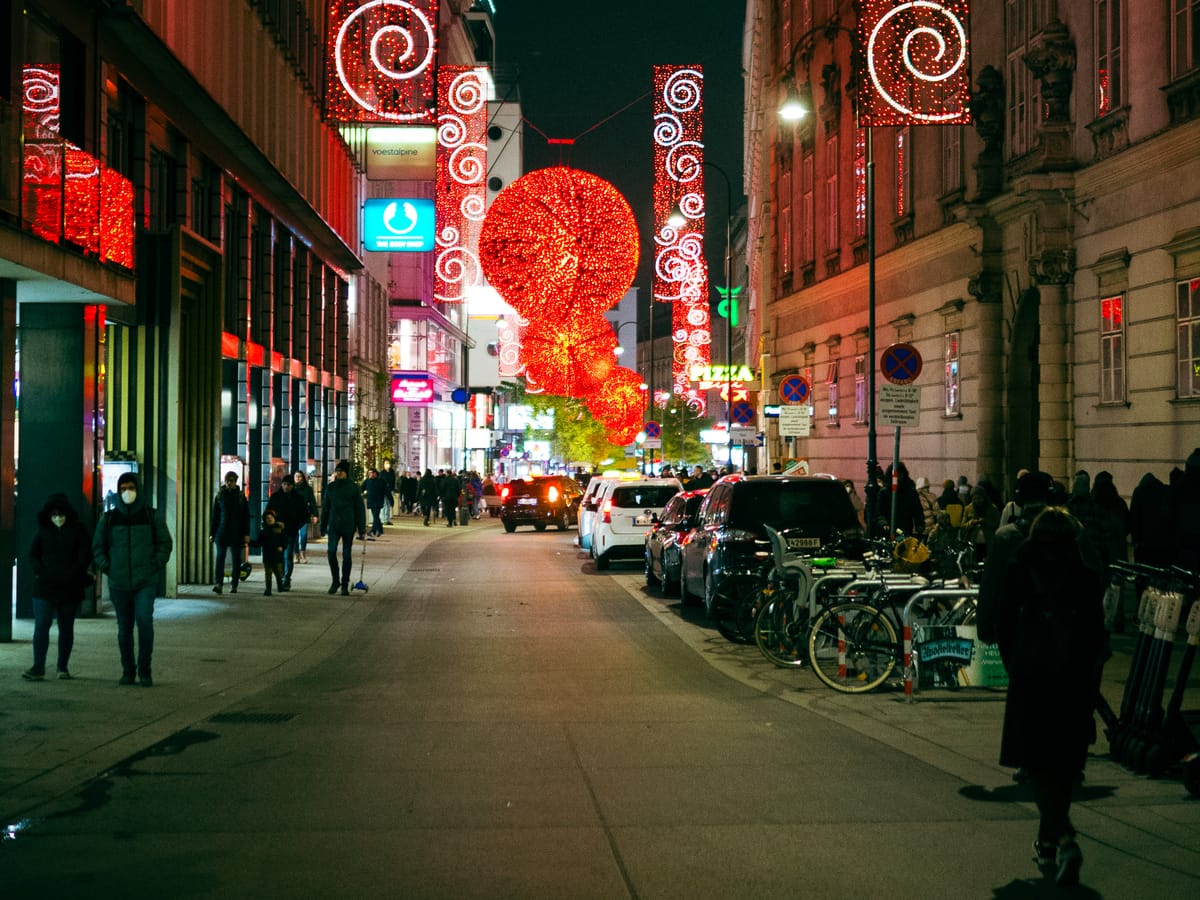
- Handheld Night Photography: ISO 3200, f/2.8, 1/50s.
Final Thoughts
ISO is a powerful tool (when used correctly), enabling you to adapt to various lighting conditions and creative visions. By understanding its role in the exposure triangle, its historical roots, and its impact on noise and dynamic range, you'll master ISO for any situation.
Happy shooting!

