Capturing the Majesty of the Night Sky - Part 1

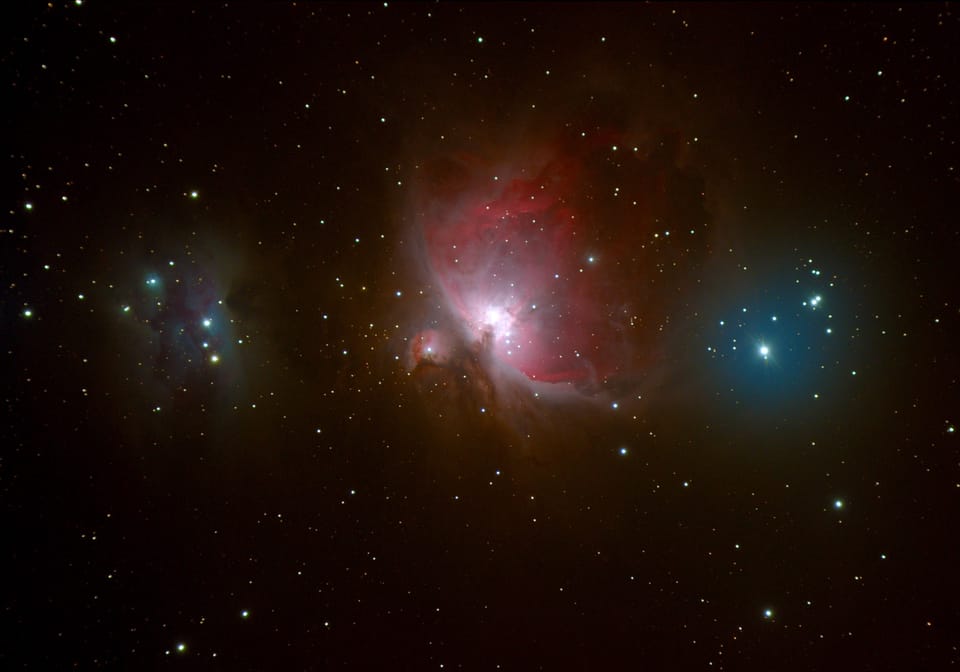
The night sky has been a source of inspiration and wonder for centuries. From the shimmering stars to the faint glow of distant galaxies, photographing the cosmos is a deeply rewarding pursuit that combines technical skill with artistic expression. This guide is the first part of a two-part series, focusing solely on the photography aspects of capturing the night sky, leaving other considerations for future discussion.
Choosing the Right Location
The foundation of stunning night sky photography begins with choosing the right location. Urban areas, with their ever-present light pollution, obscure the beauty of the stars and limit the details you can capture. Remote areas away from city lights offer the best conditions, especially those designated as dark-sky reserves, which are specifically protected for their clear and dark skies. Tools like light pollution maps can help you find these areas. Additionally, higher altitudes tend to provide better atmospheric clarity, reducing distortion caused by the Earth's atmosphere. Finally, always check the weather forecast before heading out; even the best locations are of no use if the sky is overcast.
The Equipment You’ll Need
Astrophotography doesn't require the most expensive gear, but having the right tools makes all the difference. A DSLR or mirrorless camera with manual controls is ideal, allowing you to adjust settings for low-light conditions. A wide-angle lens with a fast aperture, such as f/2.8 or lower, is perfect for capturing vast expanses of the night sky. Stability is crucial, so a sturdy tripod is a must to prevent any movement during long exposures. A remote shutter release or your camera’s built-in timer is helpful to avoid camera shaking when taking photos. Don’t forget to pack spare batteries, as cold nights drain power quickly, and large memory cards for storing high-resolution RAW images.
Mastering Camera Settings
Night photography demands manual control over your camera settings. Start with an ISO of 1600 or 3200, allowing your camera to capture more light without excessive noise. Use the widest aperture your lens allows, such as f/2.8, to let in as much light as possible. To determine the appropriate shutter speed, follow the 500 Rule: divide 500 by the focal length of your lens. For example, with a 20mm lens, your shutter speed should not exceed 25 seconds to avoid star trails. Focusing in the dark can be challenging, so manually set your lens to infinity and fine-tune using your camera’s live view feature, zooming in on a bright star to ensure sharpness.
Shutter speed formula example:
$$500 \, \div 20 \, \text{mm lens}= 25 \, \text{sec}$$
Planning and Composition
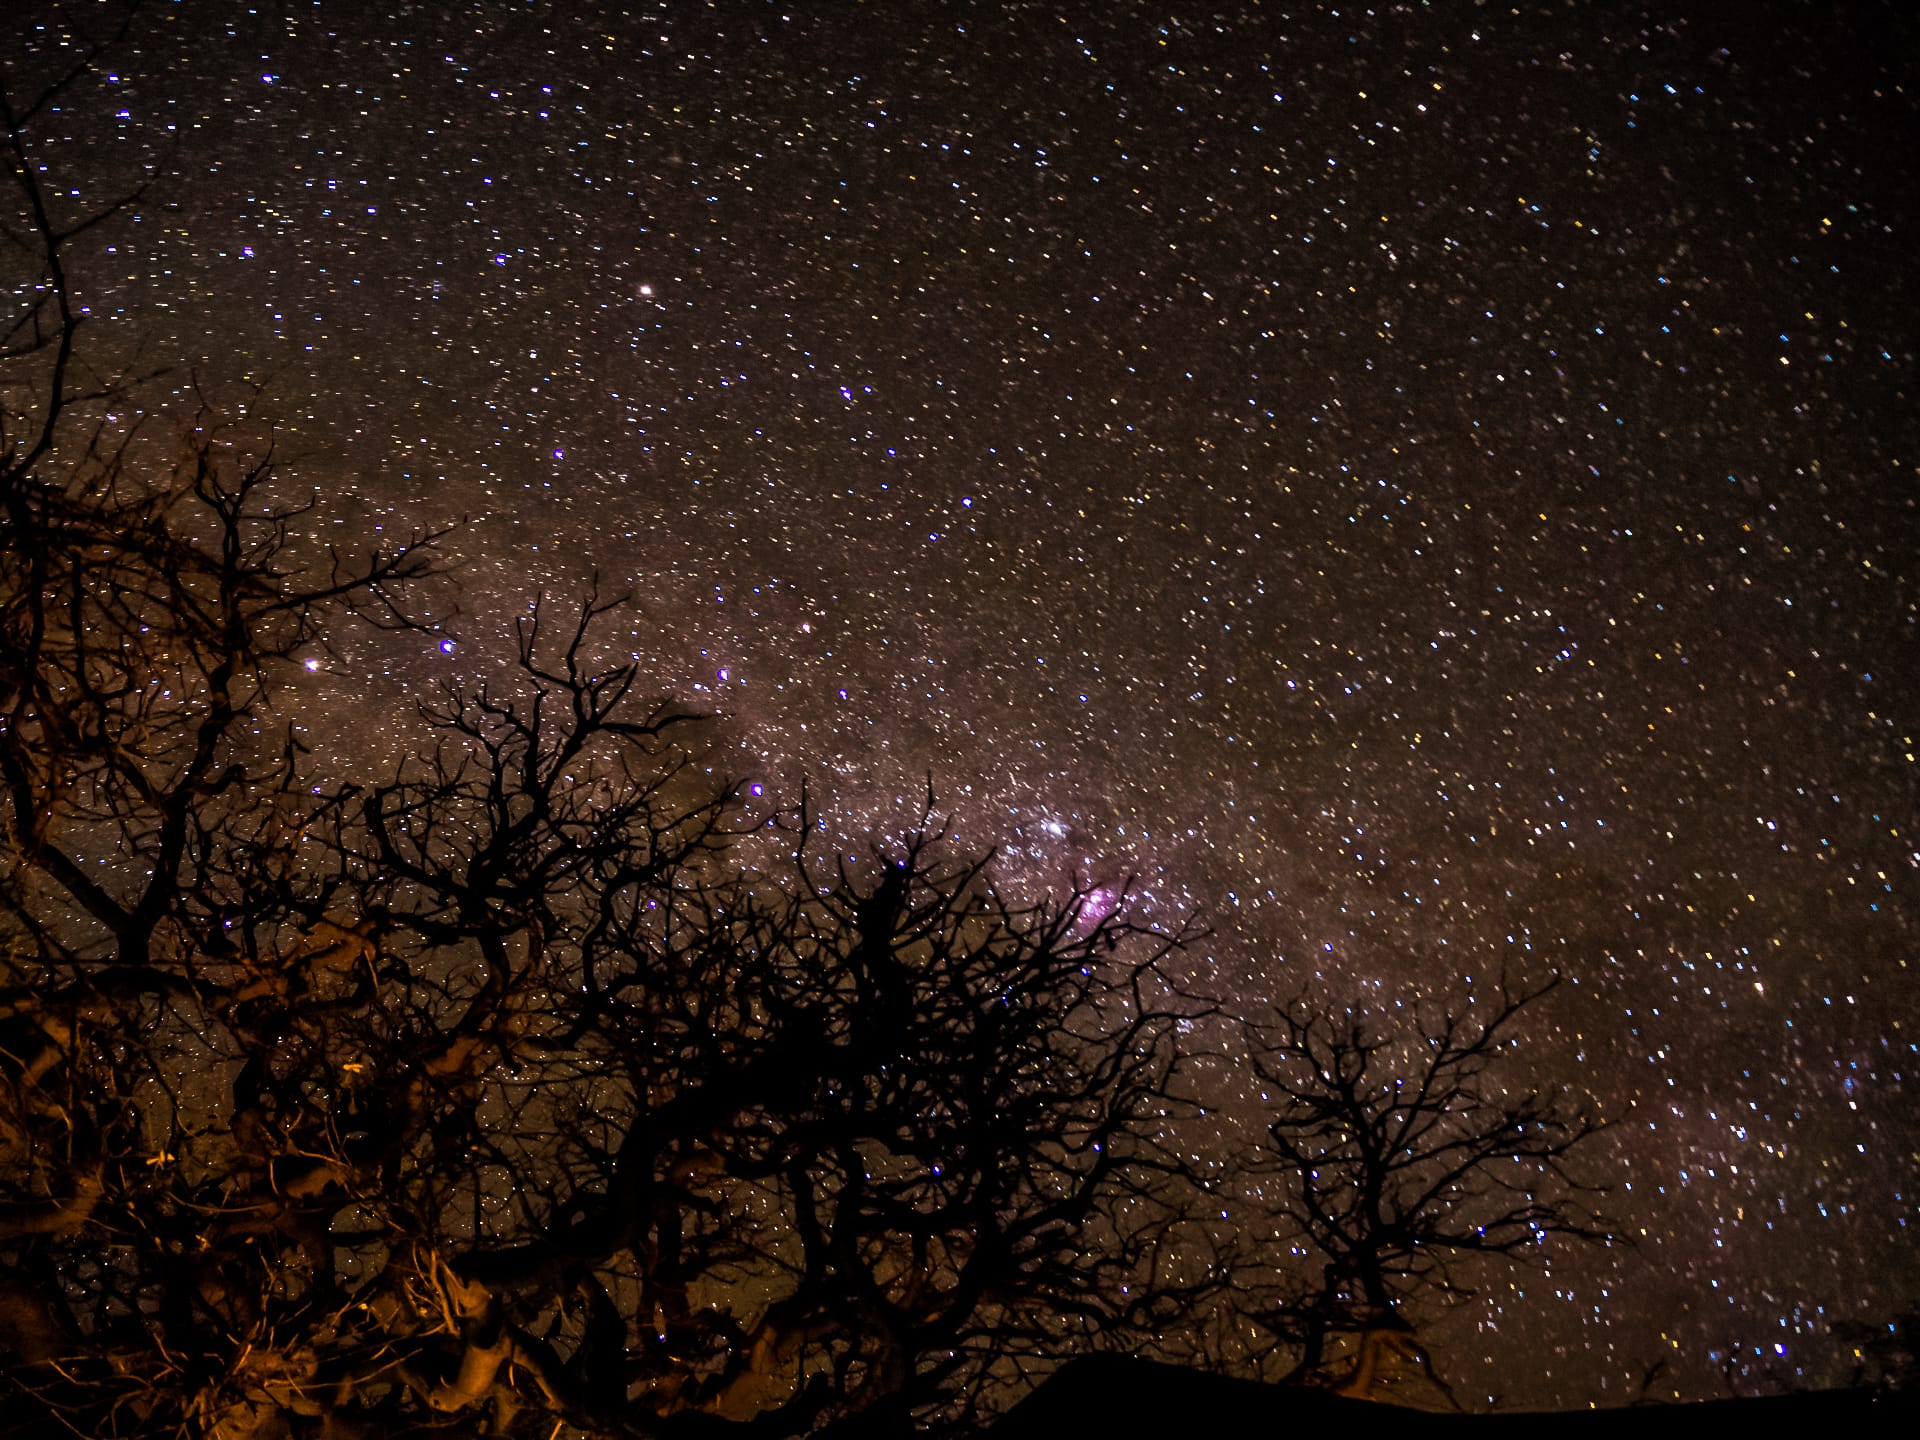
Planning is just as important as shooting when it comes to astrophotography. Timing plays a critical role; aim for nights with a new moon or minimal moonlight, as this will provide the darkest skies. Adding foreground elements such as trees, mountains, or even structures can create a dynamic composition that enhances your images. A silhouette of a tree or building against the starry sky can add depth and context to your photos. Apps like Stellarium or PhotoPills are invaluable for locating constellations, the Milky Way, or tracking celestial events such as meteor showers, helping you frame your shots perfectly.
Post-Processing Your Images
The magic of night sky photography often comes alive during post-processing. Shooting in RAW format is essential, as it preserves more detail and gives you greater flexibility during editing. Use software like Adobe Lightroom or Photoshop to enhance your images. Start by increasing the contrast and clarity to make the stars pop. Adjust the white balance to remove any unnatural color casts and reduce noise carefully to maintain the sharpness of the stars. Advanced techniques like stacking multiple exposures can help you enhance details and reduce noise even further, producing professional-quality results.
Overcoming Challenges
Night sky photography is not without its challenges. Noise is a common issue due to the high ISO settings required for low light. Experiment with noise reduction in post-processing but be careful not to overdo it, as this can result in a loss of detail. Weather unpredictability is another challenge; always have a backup plan in case conditions change unexpectedly. Patience is perhaps the most important skill in astrophotography. It takes time to master the techniques and capture the perfect shot, so don’t be discouraged if your early attempts don’t meet your expectations.
Final Thoughts
Photographing the night sky is more than just a technical exercise; it’s an opportunity to connect with the universe on a deeper level. Each image you capture represents a unique moment in time, a glimpse into the vastness of space. The journey itself /finding the perfect location, setting up your gear, experimenting with settings, and finally witnessing the stars come alive in your photos/ is as rewarding as the final result.
This article marks the first part of our exploration into night sky photography, focusing entirely on the photographic aspects of the process. In the next part, we’ll dive deeper into other considerations, including understanding celestial objects and planning for specific types of astrophotography. For now, gather your gear, step outside, and let the wonders of the night sky inspire your creativity.
Happy shooting!

