Capturing Timeless Structures: A Guide to Architecture Photography

Welcome back to Paul's Camera Chronicles! Today, we’re diving into the art of architecture photography. This unique genre is all about capturing the essence and design of buildings, showcasing their aesthetic and functional qualities. From the timeless beauty of historical landmarks to the sleek elegance of modern skyscrapers, architecture photography combines artistry with precision. In this guide, I’ll walk you through the essential techniques, settings, and equipment needed to take your architecture shots to the next level. Let’s get started!
Choosing the Right Gear
For architecture photography, selecting the right gear is key to capturing all the intricate details and unique features of a building. Here’s what you’ll need:
Camera selection
While high-resolution, full-frame cameras from brands like Canon, Sony, and Nikon are excellent for capturing fine architectural details, like stone textures and window reflections, you don’t need to break the bank to capture stunning architectural shots. Even mid-range or entry-level cameras can produce fantastic results with the right techniques. Look for models with good image quality, even if they don’t have full-frame sensors. Many crop-sensor cameras, especially from Sony, or Olympus (my experience), offer great dynamic range and sharpness at an affordable price point. Key factors to focus on in any camera are resolution and sensor size these will affect how much detail you can capture and how well you can correct distortion in post-processing.
Lens Selection
- Wide-Angle Lenses: Perfect for capturing an entire structure, especially when space is limited or the building is very large.
- Tilt-Shift Lenses: These lenses are crucial for correcting perspective distortion, which is common when photographing tall buildings. Tilt-shift lenses ensure that vertical lines stay straight, giving a more accurate portrayal of the architecture.
Tip: Tilt-shift lenses also allow you to create creative perspective effects, such as shifting the focus plane to produce a “miniature” or model-like effect. By tilting the lens and adjusting the focal plane, you can blur parts of the image to mimic the look of a small-scale model, often seen in tilt-shift photography. This is particularly fun when photographing urban environments or large, complex structures where you want to give a sense of playful scale.
Tripod selection
A sturdy tripod is essential for stability, especially in low-light situations or when using slower shutter speeds to capture clean, sharp images.
Tip: However, before you set up your tripod, be sure to check if tripods are allowed at the location you're photographing. Some indoor sites, like museums or historical buildings, or outdoor places like crowded urban areas or nature reserves, may have restrictions on tripod use due to space limitations or safety concerns. Always inquire ahead if you’re unsure, or be prepared to adjust your shooting technique if a tripod is not permitted.
Essential Techniques for Architecture Photography
Once you have your gear, the next step is mastering some essential techniques to bring out the best in your shots.
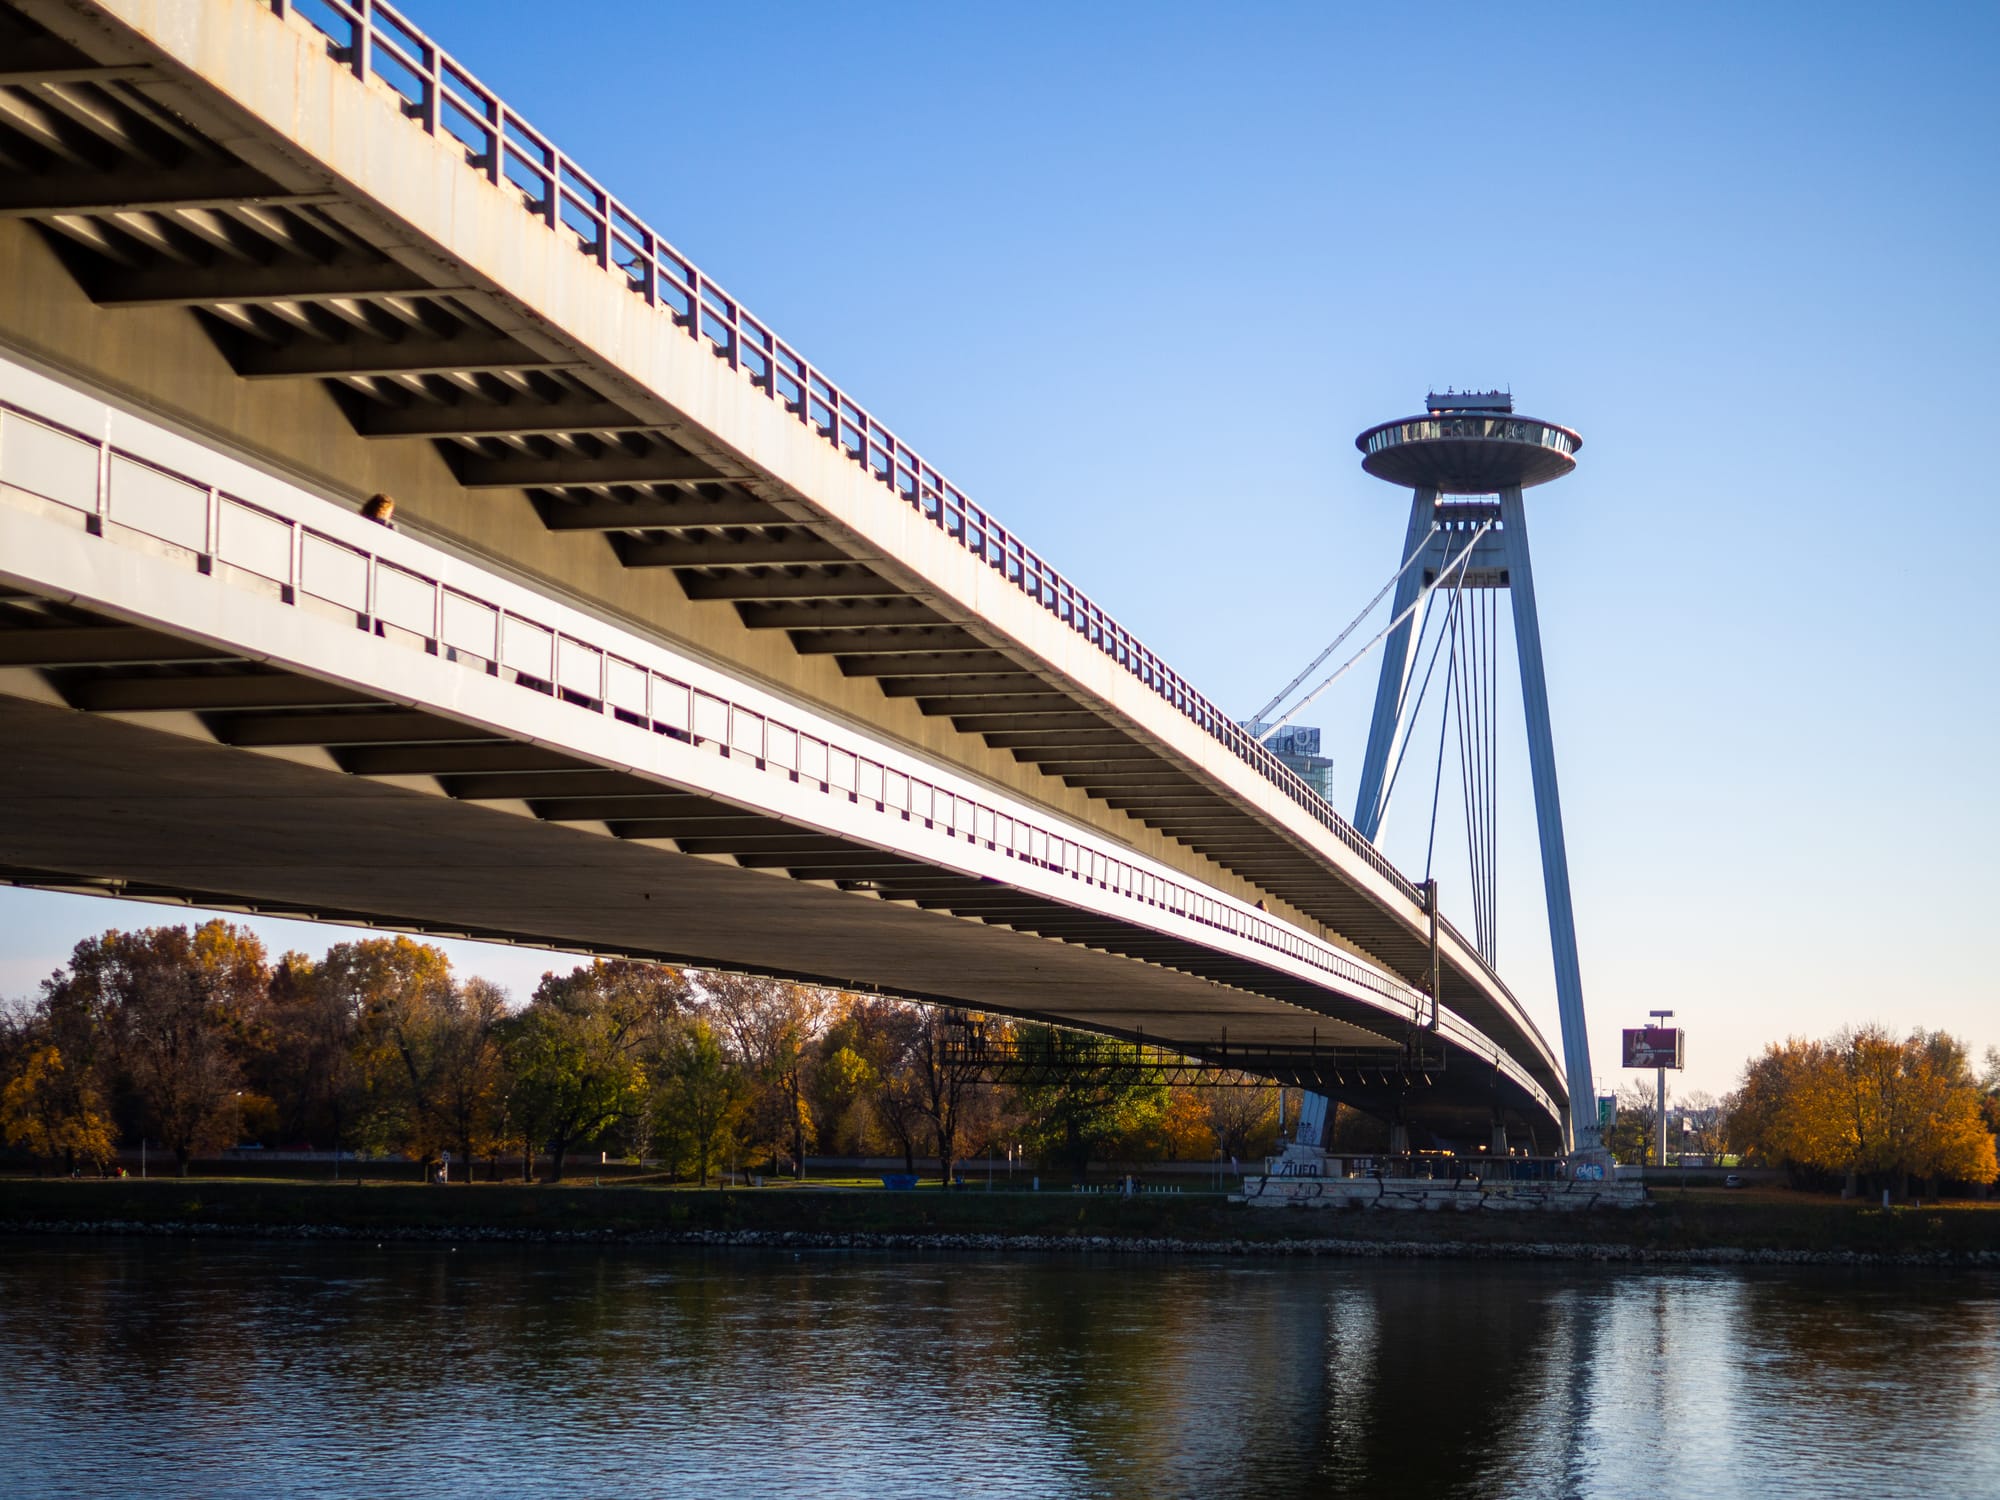
- Play with Perspective: Changing your perspective can dramatically alter the feel of a photo. Shooting from low angles can emphasize the building’s height and grandeur, while a higher vantage point can showcase the layout and structure in a different light.

- Focus on Symmetry and Lines: Buildings often have symmetrical elements and leading lines whether it’s pillars, windows, or pathways that can guide the viewer’s eye through the photo. Highlighting these features creates a balanced and striking composition.
- Experiment with Light: Lighting makes a huge difference in how a building is perceived. The golden hour, just after sunrise or before sunset, casts soft, warm light that enhances textures without harsh shadows. Blue hour, just before dawn or after sunset, can create a moody ambiance, perfect for capturing city lights against a softening sky.
Best Camera Settings for Architecture Photography
Using the right camera settings will ensure that every detail is clear and impactful.
- Aperture: A higher f-stop, such as f/8 or higher, will help you capture deep focus, keeping every part of the structure sharp and defined.
- Shutter Speed: In low light or interior settings, you may need to use a slower shutter speed, especially if you want to avoid high ISO settings. This is where a tripod becomes crucial.
- ISOarchitectural: For the best image quality, keep ISO as low as possible around 100 to 200 to minimize noise and ensure clean, crisp photos.
Composition Tips for Stunning Architecture Photos
Composition can make or break an architectural photo. Here are a few tips to bring depth and intrigue to your shots.
- Framing and Cropping: Using the foreground, such as archways or trees, can help frame the building, adding context or emphasizing depth.
- Reflections and Surroundings: Incorporating reflections, whether in glass windows or nearby water, adds a layer of interest and can enhance contrast between the building and its environment.
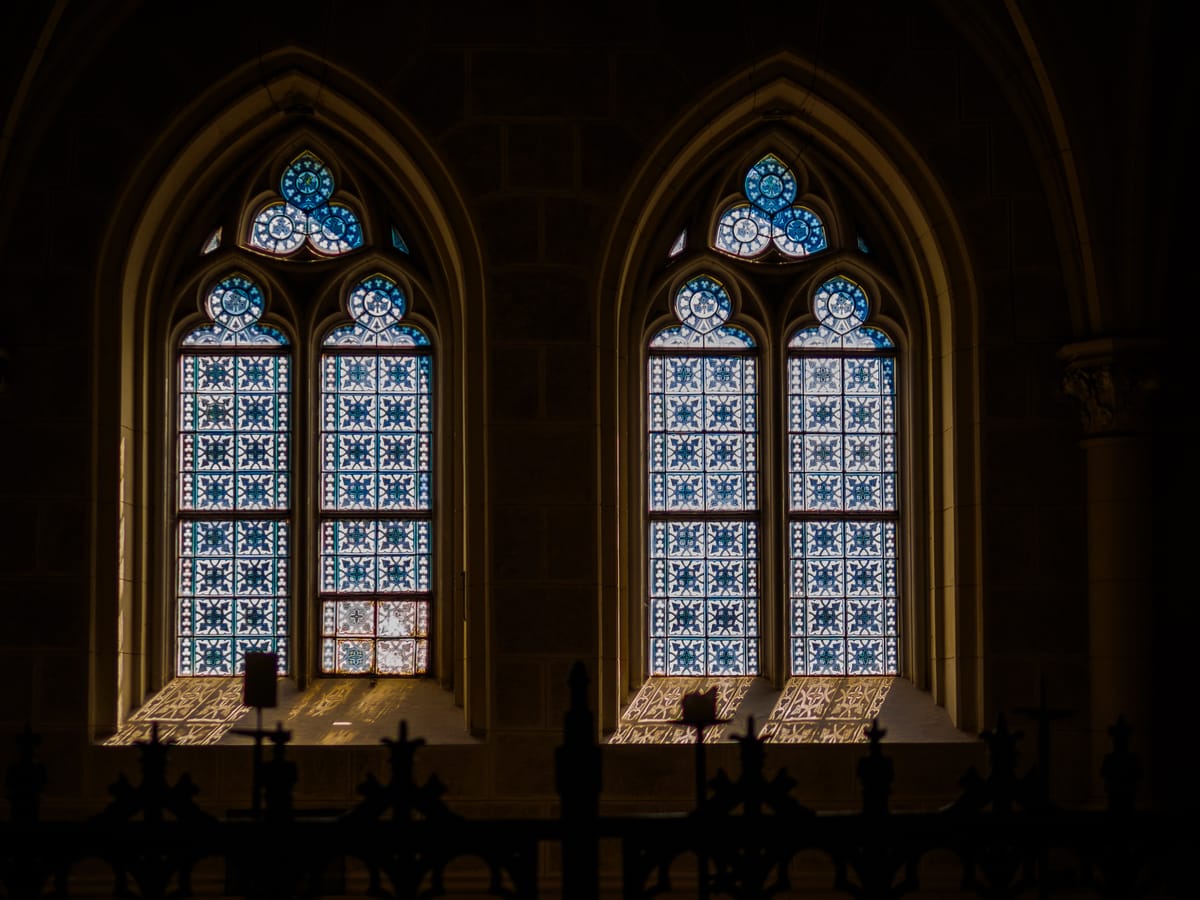
- Focus on Details: Sometimes, capturing a building’s unique features like intricate door designs, detailed carvings, or striking windows tells a more engaging story than a full shot of the entire structure.
Editing and Post-Processing for Architecture Photography
Post-processing is where your images come to life, allowing you to correct distortions and bring out the best in your shots.
- Straightening Lines: In software like Adobe Lightroom or Photoshop, use tools to straighten vertical lines and correct lens distortion for a more professional look.
- Color and Contrast: Enhancing shadows, highlights, and contrast can bring out textures and depth that might not be fully visible in the original shot.
- Perspective Correction: Many photo editors offer tools for adjusting perspective, helping to maintain the natural proportions of buildings and structures.
Tip: Architecture often requires wide-angle shots, and sometimes, a single photo just isn’t enough to capture the entire structure or its surroundings. In these cases, you can combine multiple photos into a panoramic image. By stitching together a series of overlapping photos, you can create a sweeping wide-angle view that showcases the grandeur of a building or scene. Many editing programs, have built-in tools for panorama stitching. Just ensure that you overlap your shots by about 30%, maintain consistent exposure settings, and shoot in portrait orientation to maximize the vertical detail.
Final Thoughts
Architecture photography requires patience, an eye for detail, and a bit of technical know-how. With the right techniques, a thoughtful approach to lighting, and careful attention to composition, you can capture the grandeur and character of any structure, turning it into a visual story that resonates with viewers. Whether you're photographing historic sites or sleek modern marvels, these tips will help you create images that stand the test of time.
Happy shooting!


