10 Tips for Sharp Wildlife Photography
Wildlife photography is a unique blend of art and technical expertise. Capturing clear, sharp images of animals in their natural habitats can be challenging, but it's incredibly rewarding when done right. Below, I’ve expanded on ten essential tips to help you consistently achieve sharp results, even in the toughest conditions.
1. Choose the Right Gear
The foundation of sharp wildlife photography lies in using suitable equipment. A good telephoto lens is essential because wildlife often requires shooting from a distance. Consider lenses with a focal length of at least 300mm. The Olympus M.Zuiko 75-300mm is an excellent, lightweight option, while higher-end options like the Canon EF 100-400mm or Nikon 200-500mm deliver incredible sharpness. Pair your lens with a camera body that offers fast autofocus and high ISO performance.
Support gear like a tripod or monopod is indispensable, especially when working with heavy lenses or in low-light conditions. For added flexibility, look for gimbal heads, which make it easier to track moving subjects smoothly. If you prefer handheld shooting, ensure your lens or camera body includes optical image stabilization.
2. Use a Fast Shutter Speed
Wildlife rarely stays still, making motion blur a frequent issue. A fast shutter speed is your best ally here. For birds in flight, aim for 1/2000s or faster. For larger animals that are walking or grazing, 1/500s to 1/1000s is often sufficient.
A fast shutter speed requires balancing exposure. You may need to open the aperture or increase the ISO to compensate. Some cameras have shutter speed priority mode, which allows you to set the desired speed while the camera adjusts other settings automatically, an invaluable feature for fast-moving scenarios.
3. Optimize Your Aperture
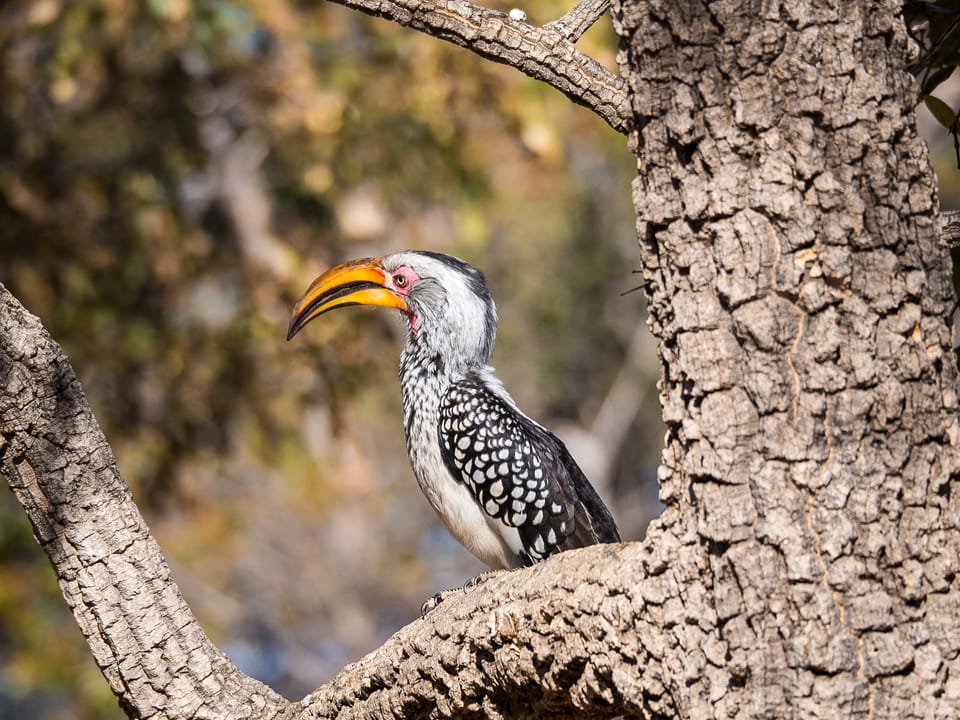
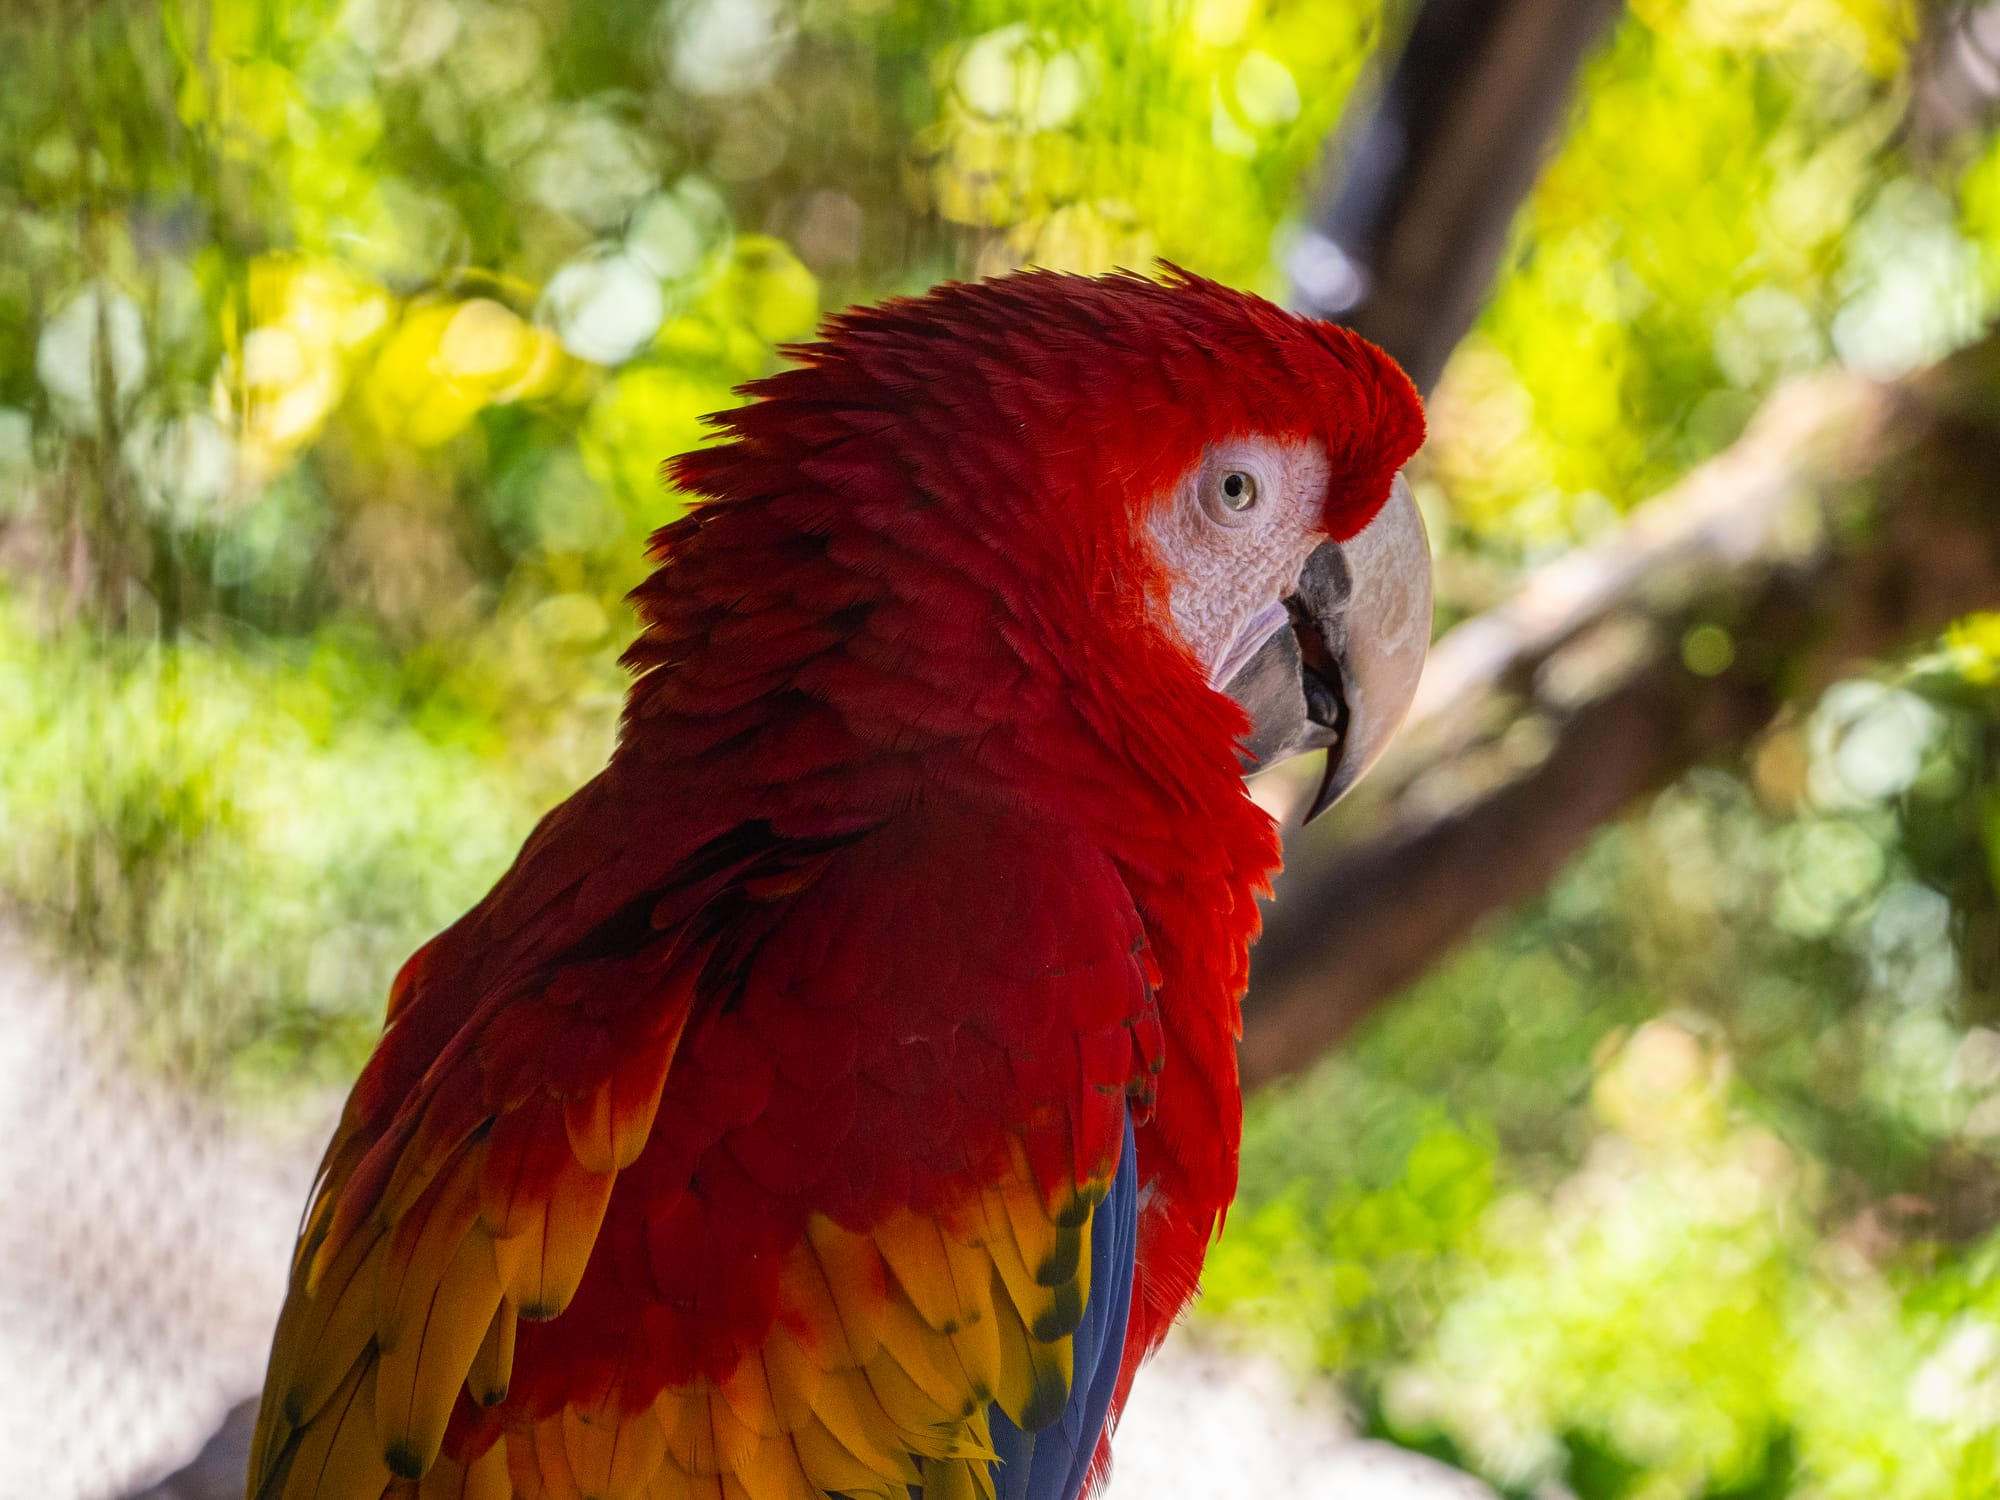
Your aperture setting plays a crucial role in determining sharpness and depth of field. A wide aperture (low f-number, such as f/2.8 or f/4) allows more light to enter the lens and helps create a beautiful, creamy background blur (bokeh) that isolates your subject. This technique is especially effective for smaller wildlife like birds or mammals against busy backgrounds.
However, when photographing larger animals or those with extended features, such as a deer with antlers or a bird with outstretched wings, a slightly narrower aperture (e.g., f/5.6 to f/8) is better. This ensures that more of the subject stays in focus while still maintaining a pleasing background blur.
For sharpness, remember that most lenses have a “sweet spot,” typically 2–3 stops down from their maximum aperture. For example, if you have a lens with a maximum aperture of f/2.8, try shooting at f/5.6 or f/8 for optimal sharpness across the frame.
When shooting in low-light conditions, you may need to use the widest aperture your lens allows to maintain a fast shutter speed but keep an eye on your depth of field to ensure critical parts of your subject are sharp.
4. Focus Precisely
Accurate focus is non-negotiable for sharp wildlife photos. Wildlife often involves movement, so switch your camera to continuous autofocus (AF-C) mode. This allows your camera to track the subject as it moves. Use single-point autofocus for stationary subjects to ensure the focus is exactly where you want it, typically on the eyes.
Many modern cameras also feature animal or bird-eye detection autofocus, which can significantly improve your hit rate for sharp images. If your camera lacks these features, practice manual focus for better control in challenging situations, such as when shooting through branches or tall grass.
5. Steady Your Camera
Even the slightest movement can cause a camera shake, especially with telephoto lenses. When shooting handheld, use a firm grip, tuck your elbows in, and brace against a stable surface if possible. Activate your lens or camera's image stabilization feature to counteract minor shakes.
For maximum stability, use a tripod with a gimbal head, which allows fluid movement for tracking animals without sacrificing stability. If you're shooting in windy conditions or on uneven ground, consider adding weights to your tripod or using spikes for better grip. A remote shutter release or a 2-second timer can further minimize vibrations caused by pressing the shutter button.
6. Watch Your ISO Settings
High ISO settings are often necessary for wildlife photography, especially during dawn or dusk when light is low. However, a higher ISO introduces noise, which can reduce the apparent sharpness of your image. Modern cameras perform better at high ISOs, but understanding your camera’s limits is key.
Start with the lowest ISO that allows a fast shutter speed and sufficient depth of field. For example, on most cameras, ISO 800 to 1600 strikes a good balance in moderate lighting conditions. If your images appear too noisy, post-processing tools like Adobe Lightroom or DxO PhotoLab can help reduce noise without compromising detail.
7. Shoot in Burst Mode
Wild animals are unpredictable. Using burst mode allows you to capture a series of frames in quick succession, increasing your chances of getting a sharp shot. This is especially useful for fast actions like a bird taking flight or a cheetah chasing its prey.
Many cameras let you adjust burst speed. If your memory card and camera buffer allow, opt for the highest setting. Combine this with continuous autofocus to keep your subject sharp throughout the sequence. Review your shots later to select the best frame, and don’t hesitate to delete duplicates to save storage space.
8. Pay Attention to Light
Natural light can make or break your wildlife photos. Early mornings and late afternoons provide soft, diffused light that enhances detail and reduces harsh shadows. Overcast days are also excellent for shooting, as the cloud cover acts like a giant diffuser.
Position yourself so the light illuminates your subject from the front or side. Backlighting can create dramatic silhouettes, but it requires careful exposure adjustments to retain detail. If you're shooting in dense forests or shaded areas, use a wider aperture and higher ISO to compensate for reduced light levels.
9. Keep Your Distance
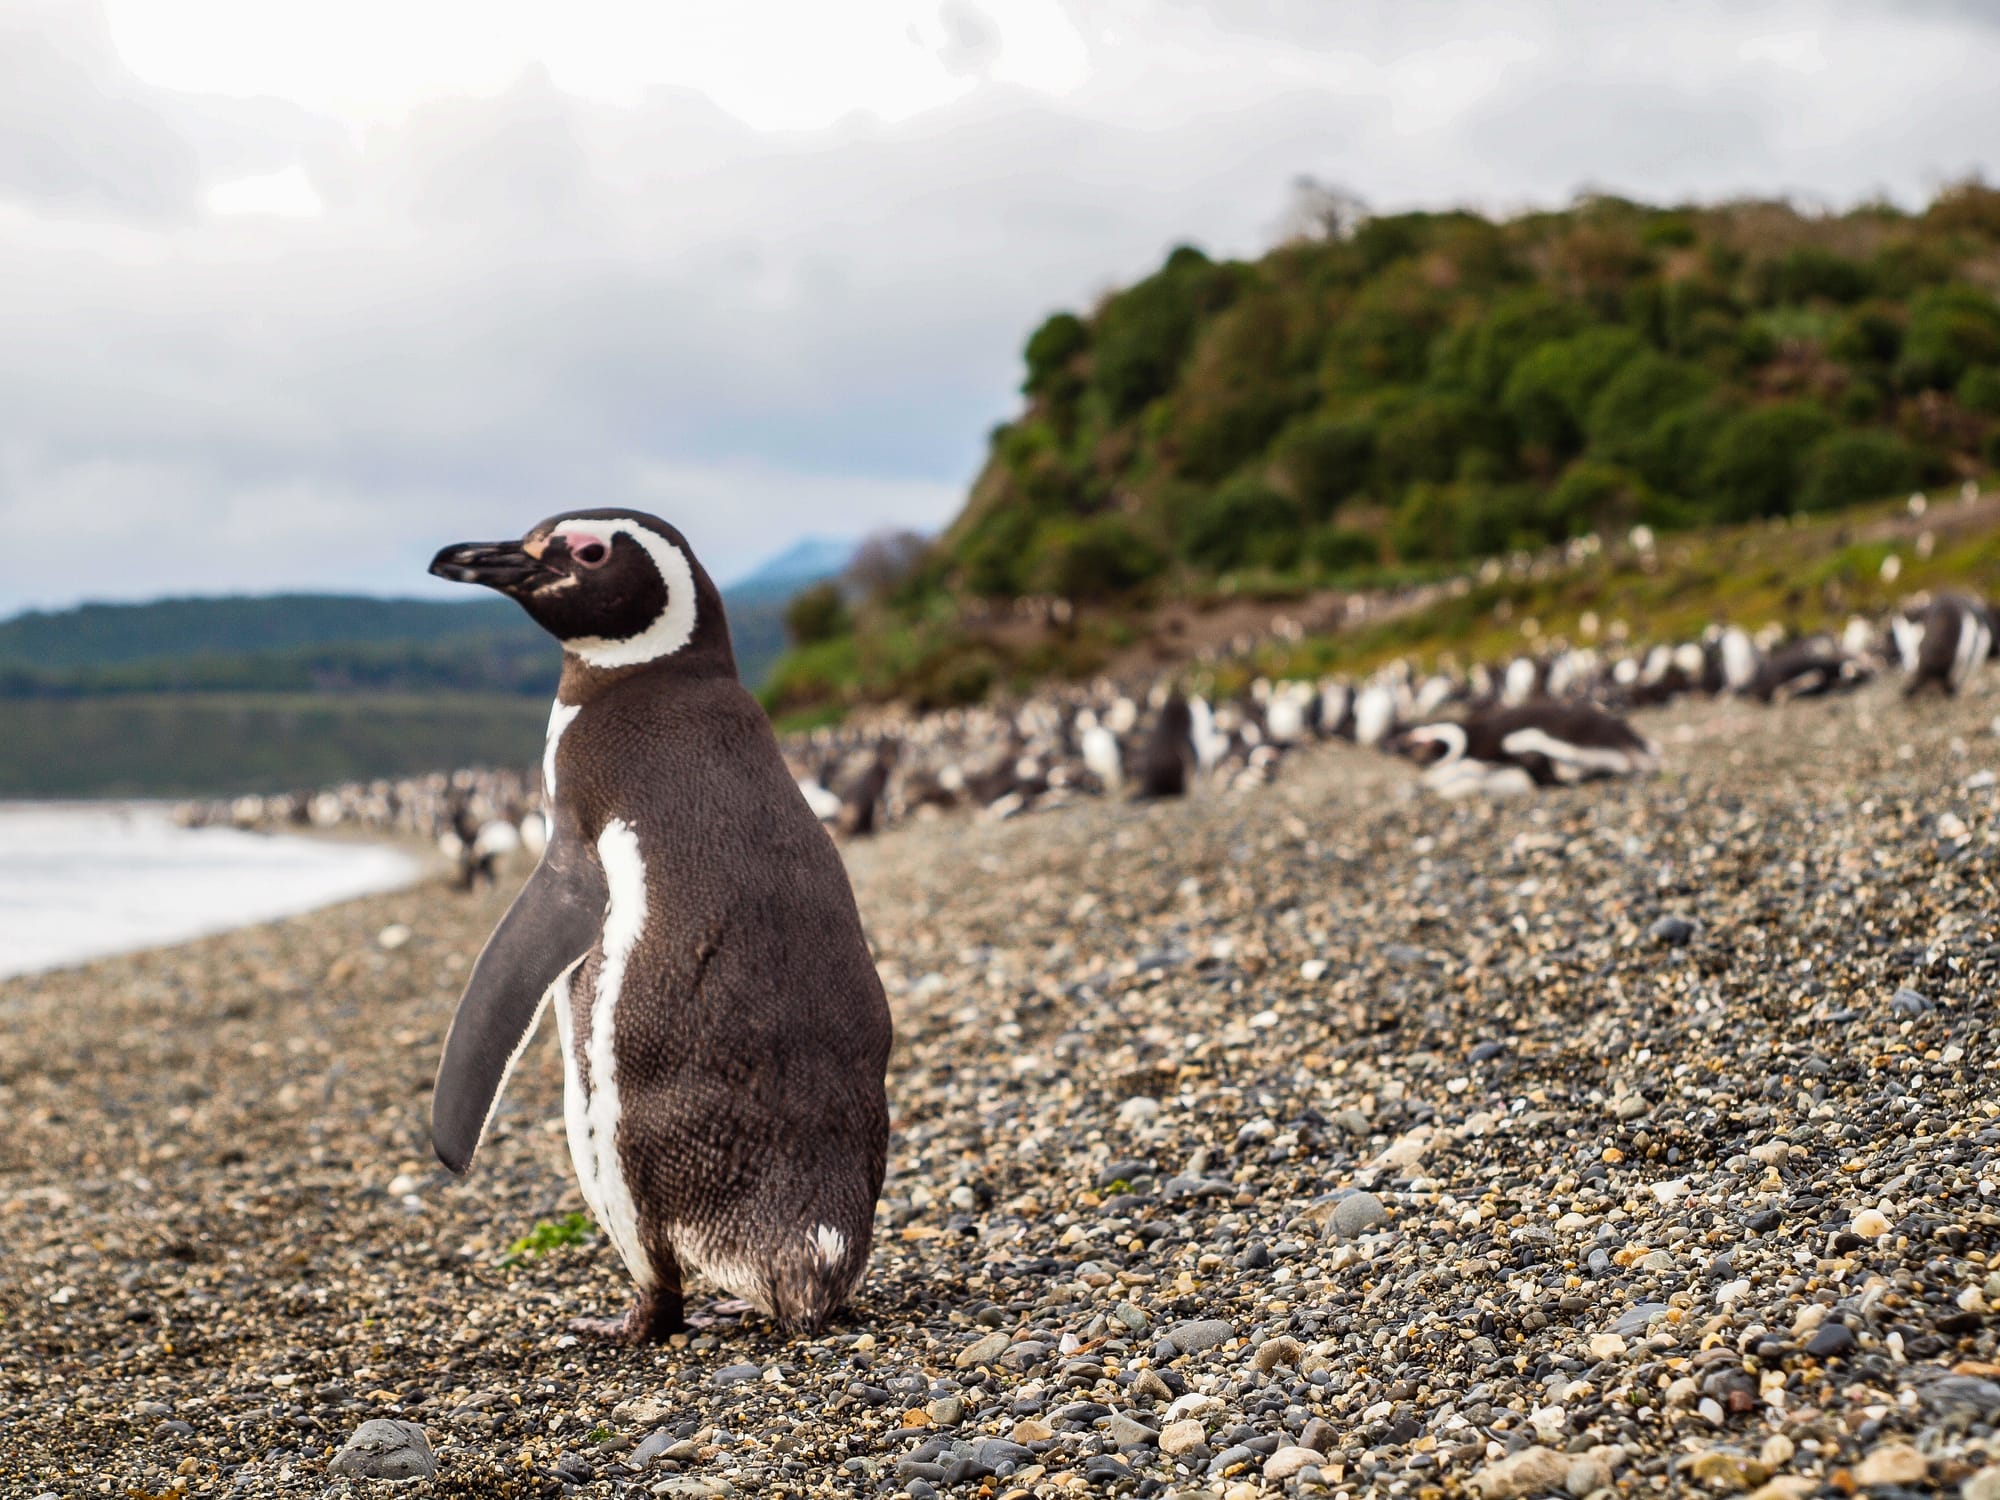
Getting too close to wildlife can disturb their natural behavior and potentially put you in harm's way. A telephoto lens lets you maintain a safe distance while still capturing detailed shots. For example, a 300mm lens is suitable for most situations, but for smaller or more skittish animals, you may need a 500mm or longer lens.
Distance also helps avoid startling animals, which can lead to rushed, less sharp shots. Use a blind or camouflage to blend into the environment, giving animals the confidence to act naturally. Patience is key, let the wildlife come to you rather than forcing the interaction.
10. Post-Processing Precision
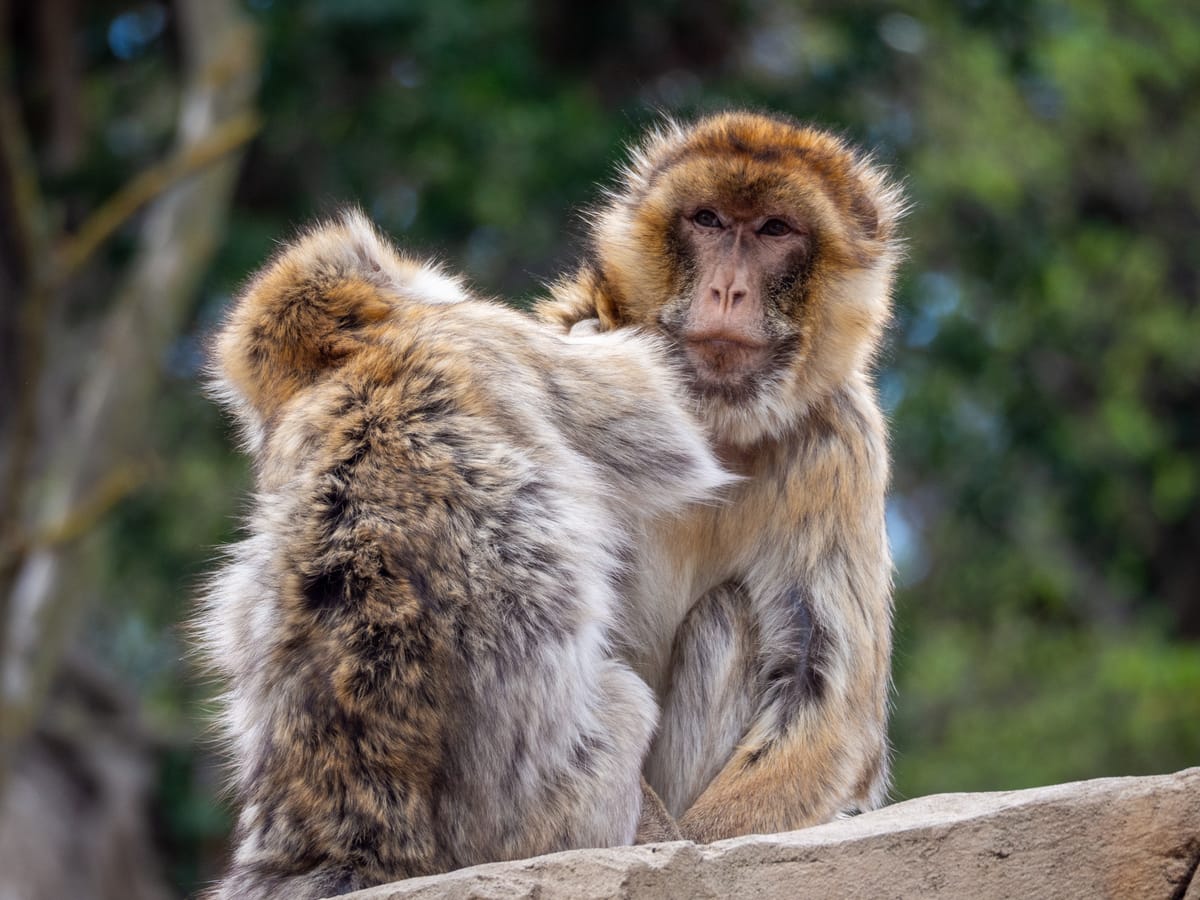
Even the sharpest wildlife photos benefit from thoughtful post-processing. Software like Adobe Lightroom or Photoshop can enhance details, adjust sharpness, and reduce noise. Use tools like the clarity and texture sliders to emphasize fur or feather details without overdoing it.
For noise reduction, apply selective adjustments to avoid blurring sharp areas. Sharpening tools should also be used judiciously, focusing on enhancing the subject without introducing artifacts.
Tip: always review your edits at 100% zoom to ensure they look natural.
Final Thoughts
Mastering sharp wildlife photography takes time, but with practice and attention to detail, your results will improve dramatically. Invest in the right equipment, refine your techniques, and be patient with both yourself and your subjects.
Have questions or want to share your wildlife shots? Drop a comment!
Happy shooting!

